How to Create a Product Photography Workflow: Tips and Tricks
As a professional photographer, creating a product photography workflow is essential for achieving consistent and high-quality results. Having a workflow in place not only saves time and effort but also helps you stay organized and focused on the task at hand. In this article, we will discuss some tips and tricks on how to create a product photography workflow that works best for you.
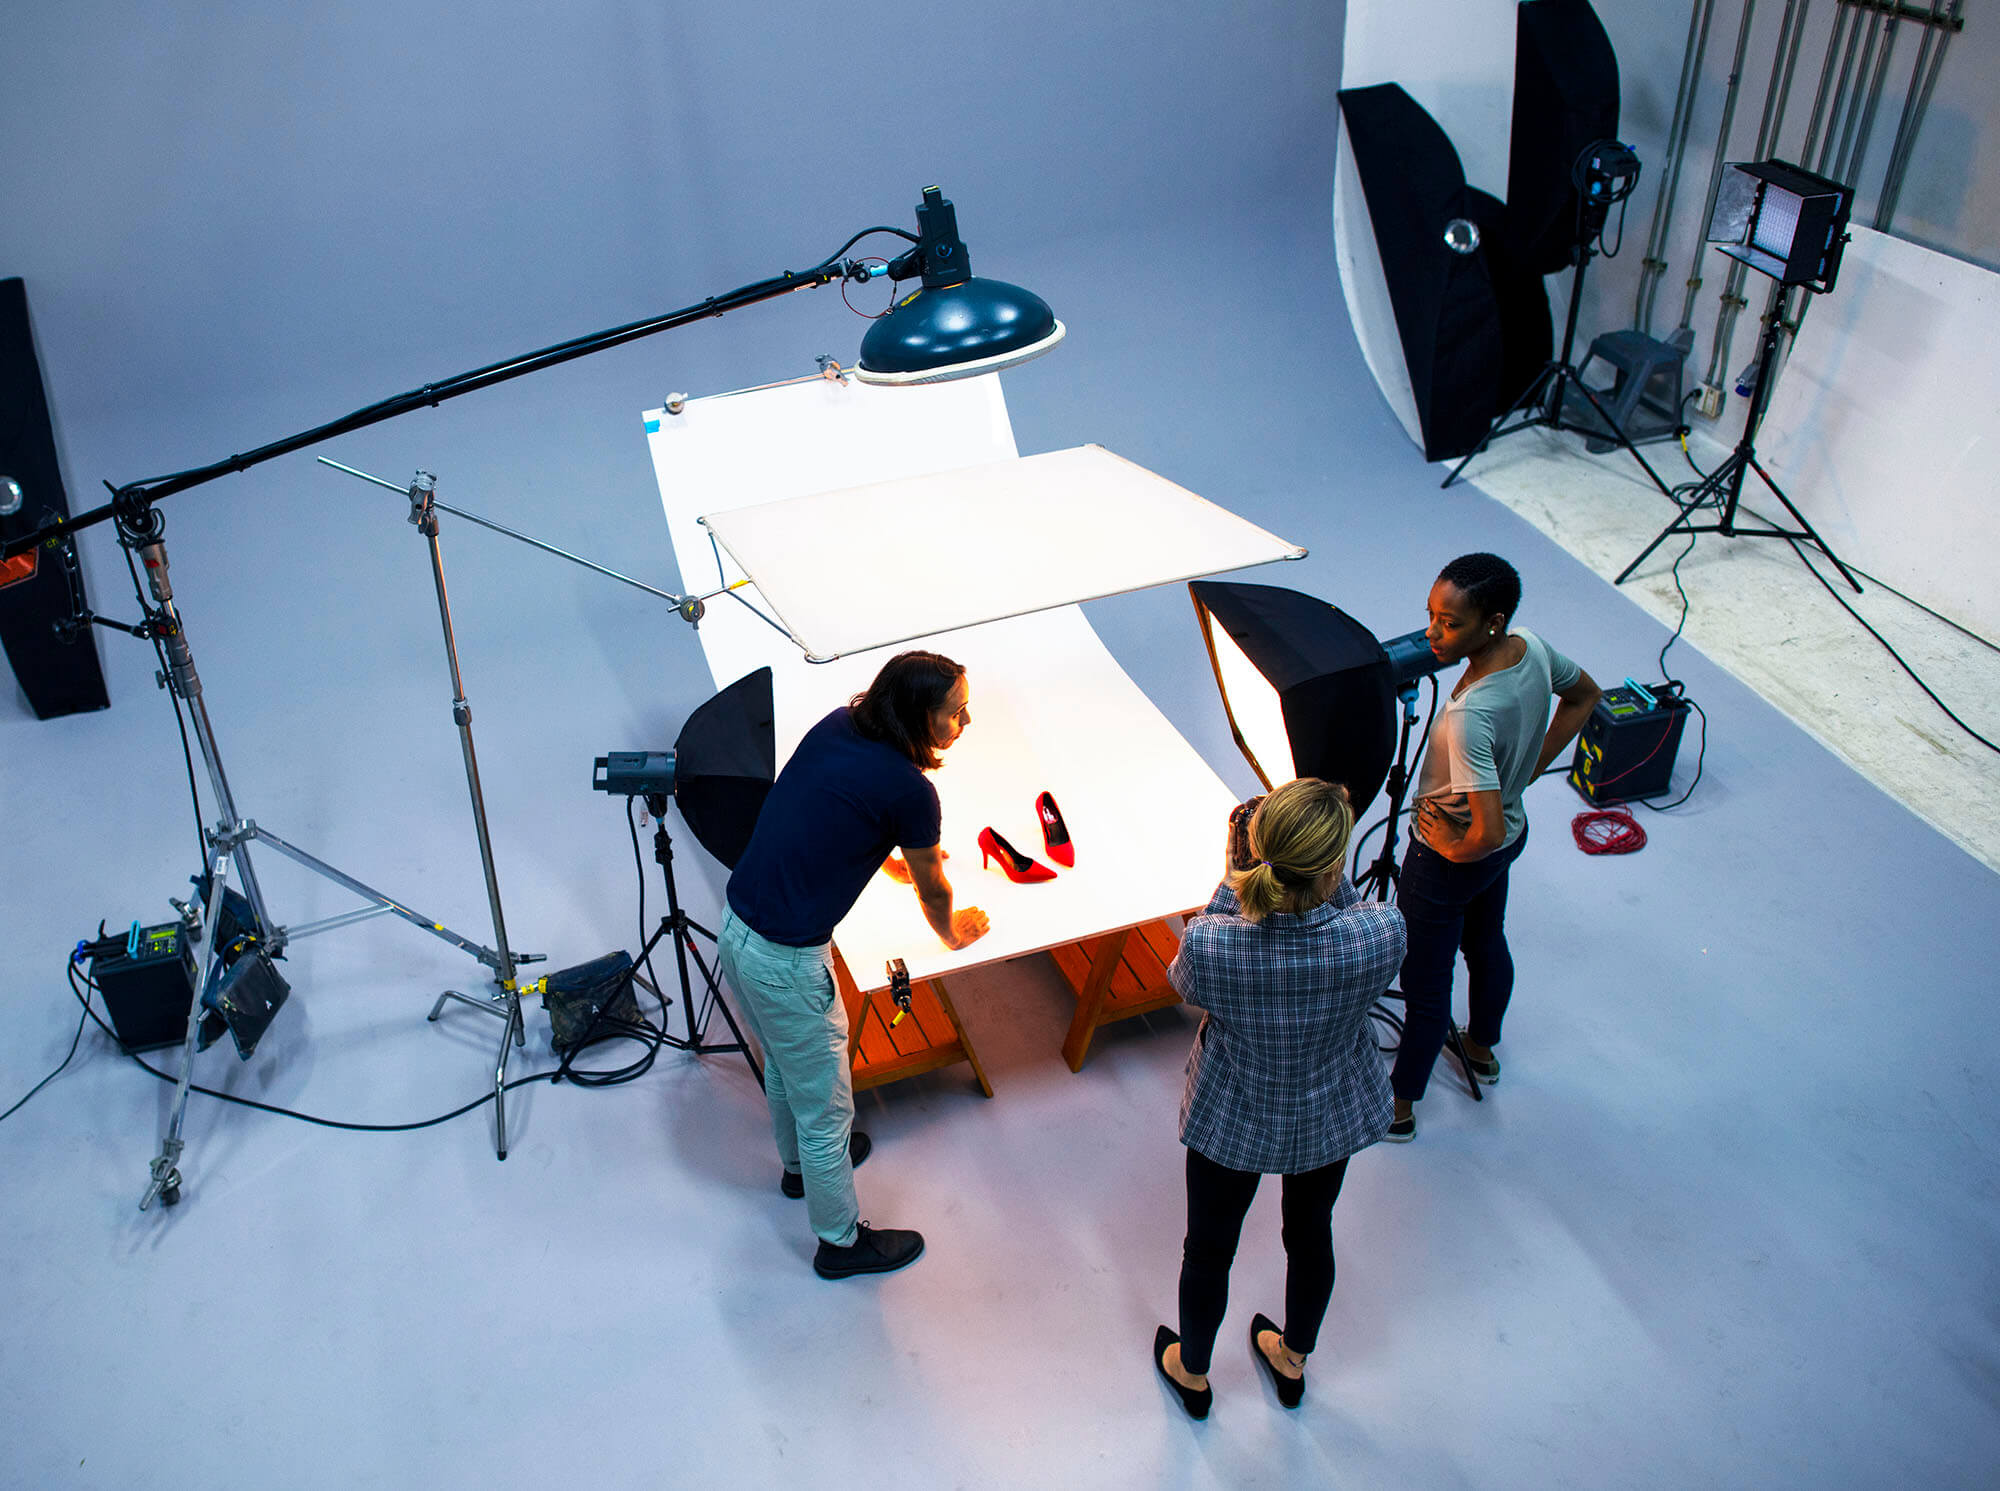
1.Set up your workspace
Before you begin, ensure that your workspace is clean, clutter-free, and well-lit. You want your workspace to be a blank canvas that can showcase your product in the best possible light. Make sure that you have all the equipment you need, including a camera, tripod, lighting, and any other props or accessories.
2.Define your goals and objectives
It’s essential to define your goals and objectives before you start shooting. Determine the type of product photography you need, whether it’s for e-commerce, social media, or print. This will help you to establish the style and look you’re going for and give you a better understanding of the type of equipment you will need.
3.Plan your shoot
Planning your shoot involves creating a shot list, determining the angles and perspectives you want to capture, and deciding on any props or backgrounds you might need. A shot list can help you stay organized and ensure that you don’t miss any crucial shots. It’s also a good idea to create a schedule, including time for setup and breakdown, to ensure that you stay on track.
4.Capture your images
Once you have your plan in place, it’s time to start shooting. Follow your shot list and capture the images you need, making any necessary adjustments to lighting, composition, or camera settings along the way. Be sure to take multiple shots of each angle to ensure that you have plenty of options to choose from later.
5.Post-production
Post-production involves editing your images to ensure that they meet your goals and objectives. This may include color correction, retouching, and resizing for specific platforms. It’s important to develop a consistent editing style that reflects your brand and helps to establish a recognizable look and feel for your product photography.
6.Archive and organize your images
Organizing and archiving your images is crucial for staying organized and making it easy to find specific images later. Develop a naming convention that is easy to understand and consistently applied. Consider using software that allows you to tag and categorize your images for easy searching and retrieval.
7.Evaluate and refine your workflow
Once you have completed your shoot, take some time to evaluate your workflow and identify areas that could be improved. Look for ways to streamline your process and reduce any unnecessary steps or redundancies. Continuously refining your workflow can help you achieve even better results in the future.
The links provided offer a selection of books about product photography.
- Product Photography: Lighting, Composition, and Shooting Techniques
- The New Lighting for Product Photography
- Product Photography Guide For Beginners
- Read This If You Want to Take Great Photographs
- Product Photography Magic
- The Digital Photography Book
Conclusion
In conclusion, creating a product photography workflow takes time and effort, but it’s essential for achieving consistent and high-quality results. By setting up your workspace, defining your goals and objectives, planning your shoot, capturing your images, post-production, archiving, and organizing your images, and evaluating and refining your workflow, you can create a workflow that works best for you. Remember to stay organized, stay focused, and be consistent in your approach. With these tips and tricks, you’ll be well on your way to creating stunning product photography.